What is Daily Calibration?
Daily calibration is a procedure that is designed for the instrument operator to bring the instrument to a known state utilizing a factory supplied reference standard of traceable values.
The procedure for daily calibration is simple and straightforward. Depending on the type of measurement device, one or two measurements are taken with the instrument: one measurement of a ceramic white standard with traceable values, and one measurement of absolute black. The white ceramic tile used here should not be confused with the BCRA color tiles utilized during the periodic inspection and calibration process explained in the following post Why is a periodic inspection & calibration for a spectrophotometer needed?.
The "white calibration"
The measurement of the white ceramic standard must always be performed with the standard that was assigned to the respective instrument. Each white standard is serialized and therefore easily paired with the correct instrument. Make sure to always perform the daily calibration on the white tile provided with your instrument, and not from another one.
The "zero calibration"
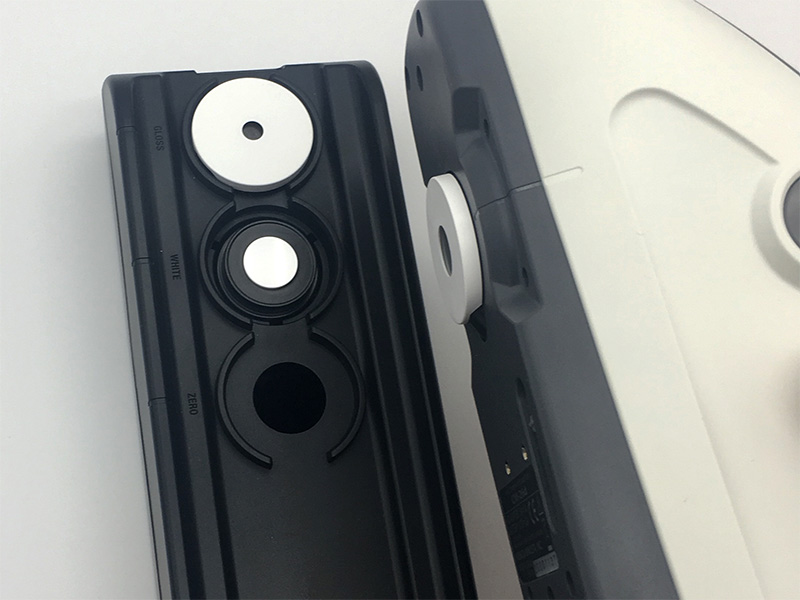
The absolute black measurement, referred to as a ‘zero calibration’ or ‘black trap measurement’ (mainly required on sphere type instruments for example), can be performed by utilizing a special attachment for the instrument which absorbs all light (black trap, or zero calibration box), or by taking a measurement with nothing in front of the instruments measurement port for at least 1m (open port black calibration).
The MYIRO and Konica Minolta FD instruments perform the zero calibration automatically by taking a measurement with the light source switched off during the white calibration. In either scenario the end result is the same in that no light will be reflected back into the instrument and therefore the measurement result will be of an absolute black.
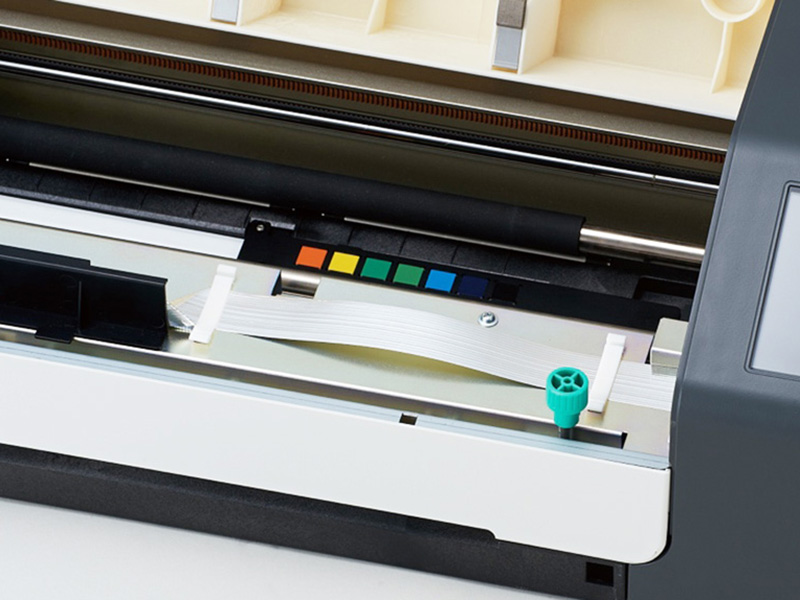
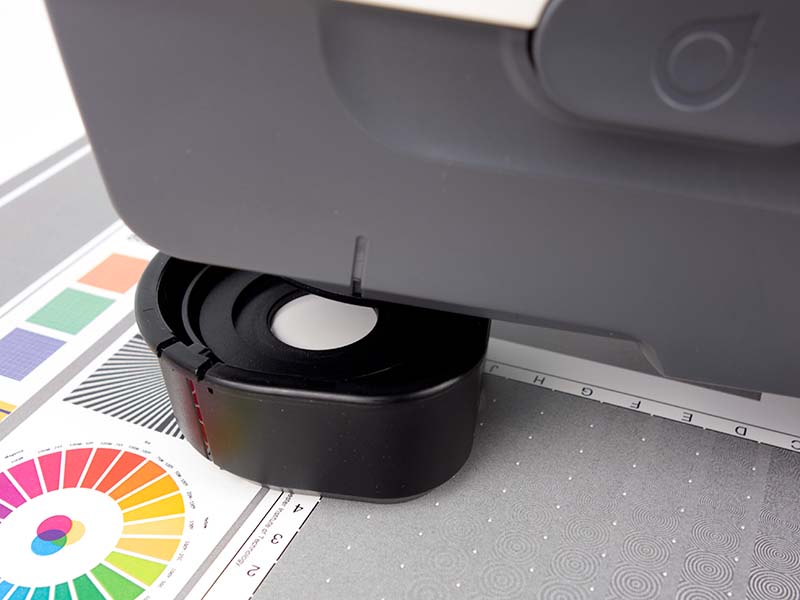
Figure 1. CM-26d calibration box (with zero and white calibration) and MYIRO-1 white tile calibration
Both the white standard reading and the absolute black reading are utilized by the instruments onboard processor to set the instrument to a known state of calibration.
What is performed during daily calibration?
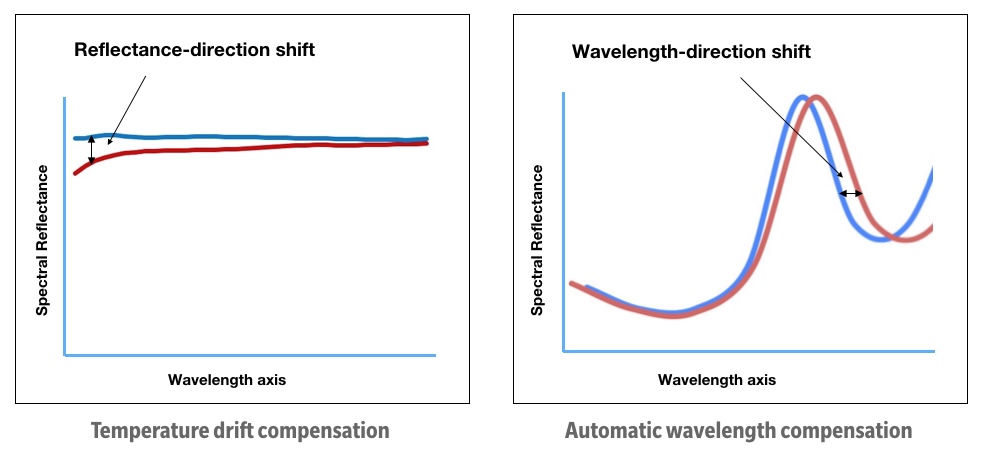
While conventional spectrophotometers only perform the white calibration on the reflectance axis, Konica Minolta FD and MYIRO devices are equipped with built-in wavelength calibration and temperature drift compensation. These checks are performed at the same time than the white calibration.
Figure 2. Illustration of adjustments performed by Konica Minolta and MYIRO daily calibration technology
How often should daily calibration be performed?
Daily calibration of color measurement devices should be performed in the same environment and conditions as the measurements with the device will be taken. The instrument and its calibration standard should be given sufficient time to acclimatize to the environment where calibration and measurement will occur. Typically with stationary instruments a minimum interval that daily calibration should be performed is every 8 hours or every shift. However there are various cases where daily calibration should be performed more often such as:
- If the environmental conditions of temperature and humidity change. The calibration process allows the operating environment to be taken into account to provide consistent results.
- If the measurement mode of the instrument is changed, for example specular component, reflectance, transmittance, etc.
- If the aperture size of the instrument is changed.
If you have any questions on calibration interval please consult the user’s manual of the instrument or with Konica Minolta’s team of application engineers, they can recommend the optimum calibration interval based on your specific measurement requirements. Keep in mind, daily calibration only takes a matter of seconds, so when in doubt, re-calibrate!
There are several important considerations when performing daily calibration of color measurement devices, they can be summarized as:
- Ensure the white calibration tile is free from scratches, dirt, or fingerprints. Any debris or abnormality can affect the calibration of the device in question.
- Ensure the white calibration tile is seated correctly to the instruments measurement aperture. Any angular misalignment can cause variation in the measurement of the calibration standard and introduce error.
- Ensure you are utilizing the correct white calibration standard for your device.
- For black calibration utilizing a zero calibration box ensure that the zero calibration box, or black trap, is free from dust and debris.
- For black calibration utilizing an open port calibration, ensure that there is no objects in front of the instruments measurement port less than three feet, and do not place the measurement port facing.
An inspection followed by the necessary adjustments will be performed in our service center by a certified technician. We recommend to perform an inspection & calibration every year.
Follow the service plan and make savings in the long run by avoiding unexpected and expensive repairs, in addition benefit from a discount on the regular calibration service
Your device is inoperative/broken and need to be inspected and repaired in our service center. This is also the right option to fill a warranty claim


