What is Calibration?
Calibration is the comparison between measurement results of a device (unit under test) and another (standard) device with known or assigned values. Thus calibration only means recognizing the differences, whilst adjustment also means taking the necessary corrective actions to bring the unit under test into a defined tolerance.
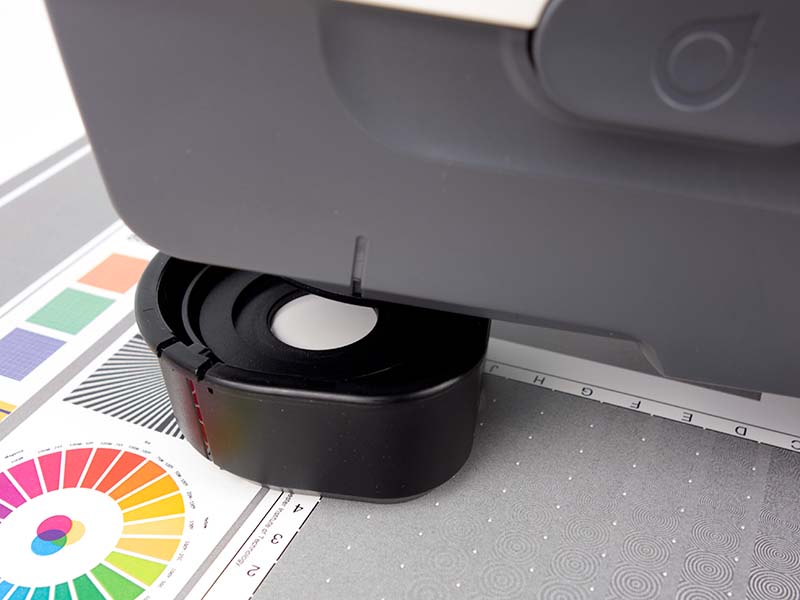
Calibration should not be confused with the instruments white & dark calibration of instruments (see our article on What is daily calibration (white tile) ?). Dark and white calibration of an instrument is performed on a daily basis by the user, utilizing the zero calibration box and the white calibration plate. These two calibrations are necessary for the instrument to work within a defined reflectance range. However, the white calibration plate may also change over time and therefore a real calibration service should be carried out once a year by an authorised service station.
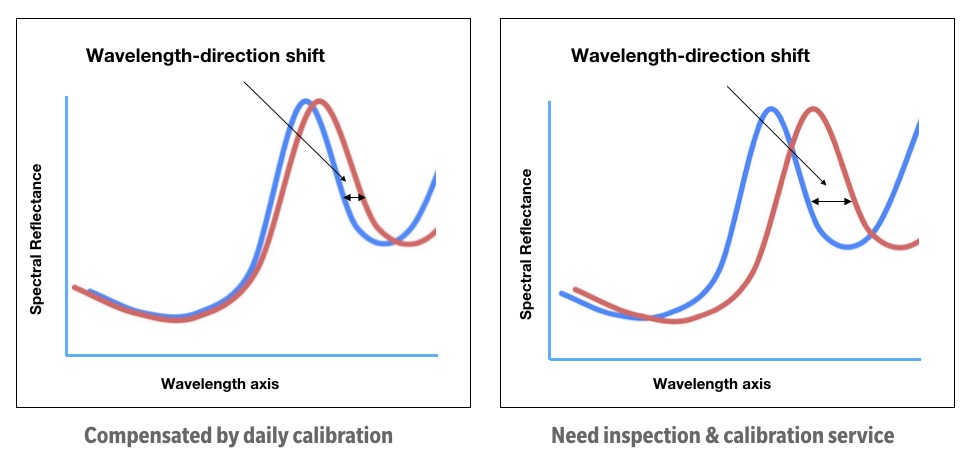
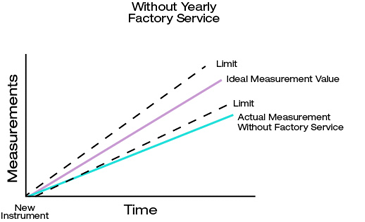
The built-in automatic wavelength compensation performed during the white calibration makes the MYIRO and Konica Minolta devices the most stable on the market, but it is not a substitute for periodic calibration service. The figure below illustrates the limits of a virtual compensation when a significant deviation occurs, basically due to normal wear and tear of the device and/or dust on the optical parts.
Figure 1. Konica Minolta's and MYIRO's Automatic Wavelength Compensation technology
What is Maintenance Service?
While calibration only covers the recognition of the instrument’s condition, a maintenance service will assure that these conditions are within the defined specifications. Maintenance includes cleaning of the instrument, preventive maintenance and replacement of parts as well as any re-adjustments necessary should the instrument not reach the specified accuracy. Every maintenance service also includes the calibration of the instrument.
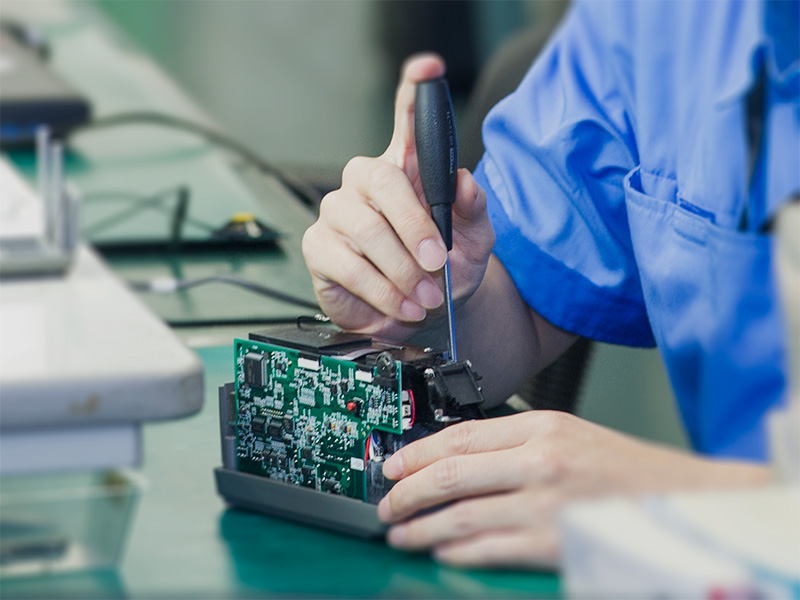
Figure 2. Service technician performing the inspection and calibration service.
What is the recommended calibration interval?
Deciding on an interval for inspection or calibration depend on several factors. Some instruments are used in a laboratory or clean room environment which is mostly temperature controlled. Other instruments are used for quality control in a production line with harsher environmental conditions such as dust, humidity and a high number of measurements every day.
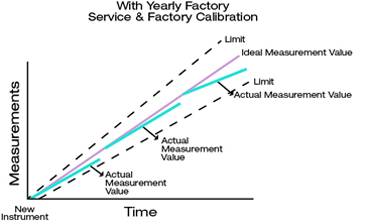
MYIRO and Konica Minolta recommends a calibration and maintenance interval of 1 year, which has been found to be suitable for most applications.
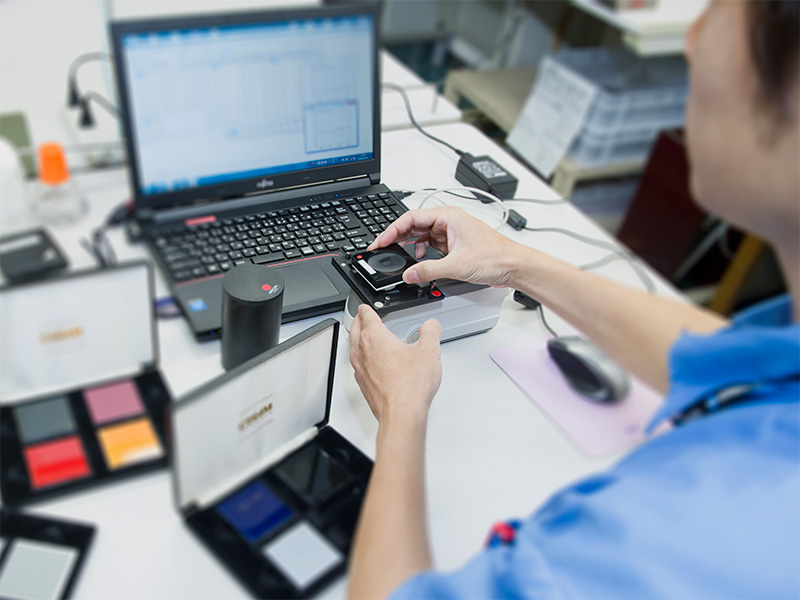
Figure 3. Graphics showing the benefits of a regular calibration inspection and maintenance service
How are MYIRO / Konica Minolta instruments checked and adjusted?
Procedures and tools for checking measuring instruments are strongly dependent on the type of instrument. As MYIRO and Konica Minolta have measuring instruments for a large range of different applications, the range of tools to be used is also very wide.
Konica Minolta utilises multiple standards for light and colour as well as for size. Of course, all of the standards used are traceable to national or international higher level standards. Details can be found in the traceability area where traceability charts for each kind of instrument are also available.
About the tools used
- Spectrophotometers are adjusted on a spectroscope or wavelength calibration box. A spectroscope is a device, which can send light of a very narrow wavelength band. By scanning the different wavelengths, it is possible to capture the sensitivity of each single sensor in a spectrophotometer or spectroradiometer. Based on this sensitivity and the check results of different certified BCRA colour tiles (for better inter-instrument agreement) the spectrophotometers are adjusted. The importance of spectrophotometers inter-instrument agreement is explained in the following article Understanding the Importance of Consistency in Spectrophotometer Results.
- Light measuring instruments such as Luminance meters, Illuminance meters, incident colour meters and spectroradiometers are adjusted on an optical bench. It is a 5 meter long bench installed in a dark room. A certified tungsten lamp is controlled by a DC power supply and used as standard. By changing the measurement distance, different illuminance levels can be simulated. Certified diffusers are used as standard for luminance measurements. For spectroradiometers such as the CS-2000, the bench is used for level calibration whilst wavelength calibration is done by spectroscope.
- Flat Panel Displays Color Analyzers such as the CA-410 are adjusted by using a standard monitor, video generator and a set of certified master probes. As Konica Minolta uses the same tools on a world-wide base, calibration of CA-410 ensures world-wide data compatibility.
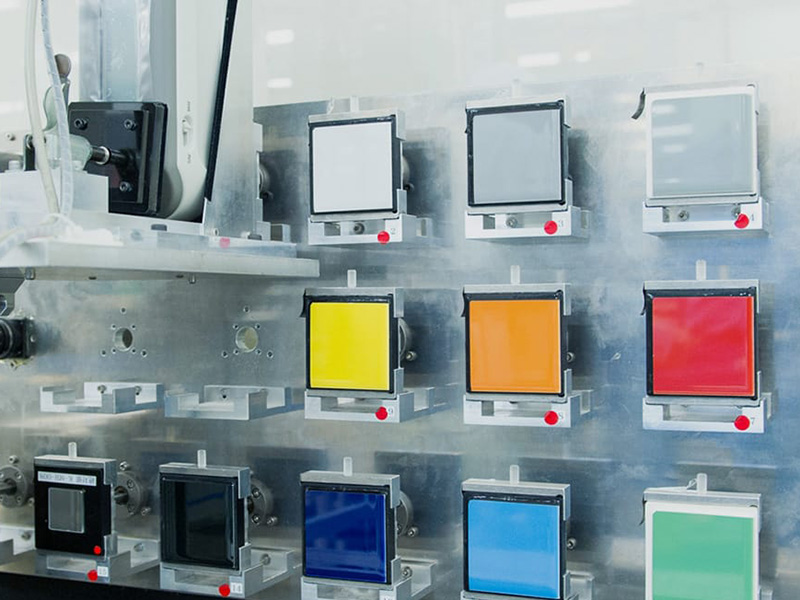
- Chroma Meters like CR-400 are checked and adjusted with different colour tiles. The inter-instrument agreement is important and this is explained later on this page. Because BCRA colour tiles have a thermo chromatic effect (chromaticity changes by temperature), all calibrations are performed in a temperature-controlled environment.
An inspection followed by the necessary adjustments will be performed in our service center by a certified technician. We recommend to perform an inspection & calibration every year.
Follow the service plan and make savings in the long run by avoiding unexpected and expensive repairs, in addition benefit from a discount on the regular calibration service
Your device is inoperative/broken and need to be inspected and repaired in our service center. This is also the right option to fill a warranty claim

